StructaCAD → roof planes → pitches → intersections → ETABS (.E2K)
Model sloped roofs in StructaCAD and export them to ETABS.
ETABS can represent inclined geometry, but building a complete roof often means calculating elevations, placing joints, and coordinating every plane manually.
In StructaCAD, draw the roof planes, assign their pitches, resolve intersections, review the 3D shape, and export the result as an .E2K model.
The export creates editable initial geometry in ETABS. The engineer remains responsible for reviewing and completing the analytical model.
Structural precision
Build cleaner roof geometry before taking it into ETABS.
Roof → ETABS workflow
Move from roof layout to editable ETABS starting geometry.
Time savings
Avoid manually recreating sloped roof surfaces in ETABS.
Built for engineers
Designed for teams coordinating structural roof geometry.
From the support system to the roof
Build the roof with tools designed for roofs.
Work over the structural plan, define every sloped plane, and immediately check how the surfaces relate to one another.
Draw each roof region over the structure and control its elevation through the slope direction and pitch ratio.
- Use common pitch ratios such as 5/12
- See pitch labels directly in plan
- Create several planes on the same level
Trim planes where they intersect and review the complete roof in 3D before sending it to ETABS.
- Check ridges and intersection lines
- Detect planes that do not meet correctly
- Export the final geometry as ETABS .E2K
Roof modeling workflow
From a structural plan to a sloped roof inside ETABS.
StructaCAD turns a task based on manual coordinates and elevations into a visual workflow of planes, pitches, and intersections.
Model the supports
Create or import the beams, columns, and walls that support the roof.
Create roof planes
Draw the plan regions that will form each inclined surface.
Assign direction and pitch
Define the uphill direction and use a pitch ratio such as 5/12.
Trim and review
Resolve intersections between planes and confirm the geometry in the 3D view.
Export to ETABS
Download the .E2K model and continue with meshing, loads, and analysis in ETABS.
Manual modeling vs StructaCAD
The roof should not take longer to model than the rest of the building.
ETABS can store the final geometry, but building it directly often becomes a sequence of elevations, joints, area objects, and connectivity corrections.
Manual construction in ETABS
Calculate heights, create points at different elevations, and draw every inclined area while trying to make all edges coincide.
- Repeated elevation calculations
- Joints and areas created one by one
- Ridges and intersections that are difficult to coordinate
- More corrections whenever the pitch or footprint changes
Visual roof modeling
Define the roof as a roof: planes with direction and pitch, intersection trimming, 3D review, and direct export to the model.
- Roof-specific plane tools
- Visible pitch labels in plan
- Geometric trimming between surfaces
- ETABS .E2K export with 3D elevations
Roof tools
A roof tool, not a collection of manual adjustments.
The geometry is controlled from the roof design intent. Every plane has a plan shape, a direction, and a pitch that determine its three-dimensional position.
Model the actual logic of the roof
Create and modify planes while comparing the plan with the three-dimensional view. Resolve intersections before the geometry reaches ETABS.
Model controls
Perimeter, direction, pitch ratio, angle, intersection trimming, isolation, and 3D review.
PerimetersDirectionPitchAngleIntersections3D viewLevels.E2K
Simple roof
Single-slope or gable roof
Quickly define simple inclined surfaces and verify their elevations without calculating every joint separately.
Model a roofCompound roof
Multiple planes and intersections
Combine planes with different directions, trim them where they meet, and review the final shape in 3D.
Open StructaCADWhat you export
Organized three-dimensional geometry for continuing in ETABS.
The goal is not to produce an image of the roof, but structural objects with coherent joints and elevations that can be opened and edited in ETABS.
From a plan drawing to an .E2K model
The plan, pitches, and trims become a three-dimensional roof. You can then complete the analytical model inside ETABS.
- Roof planes defined by pitch and direction
- Intersections reviewed in plan and 3D
- Editable .E2K geometry inside ETABS
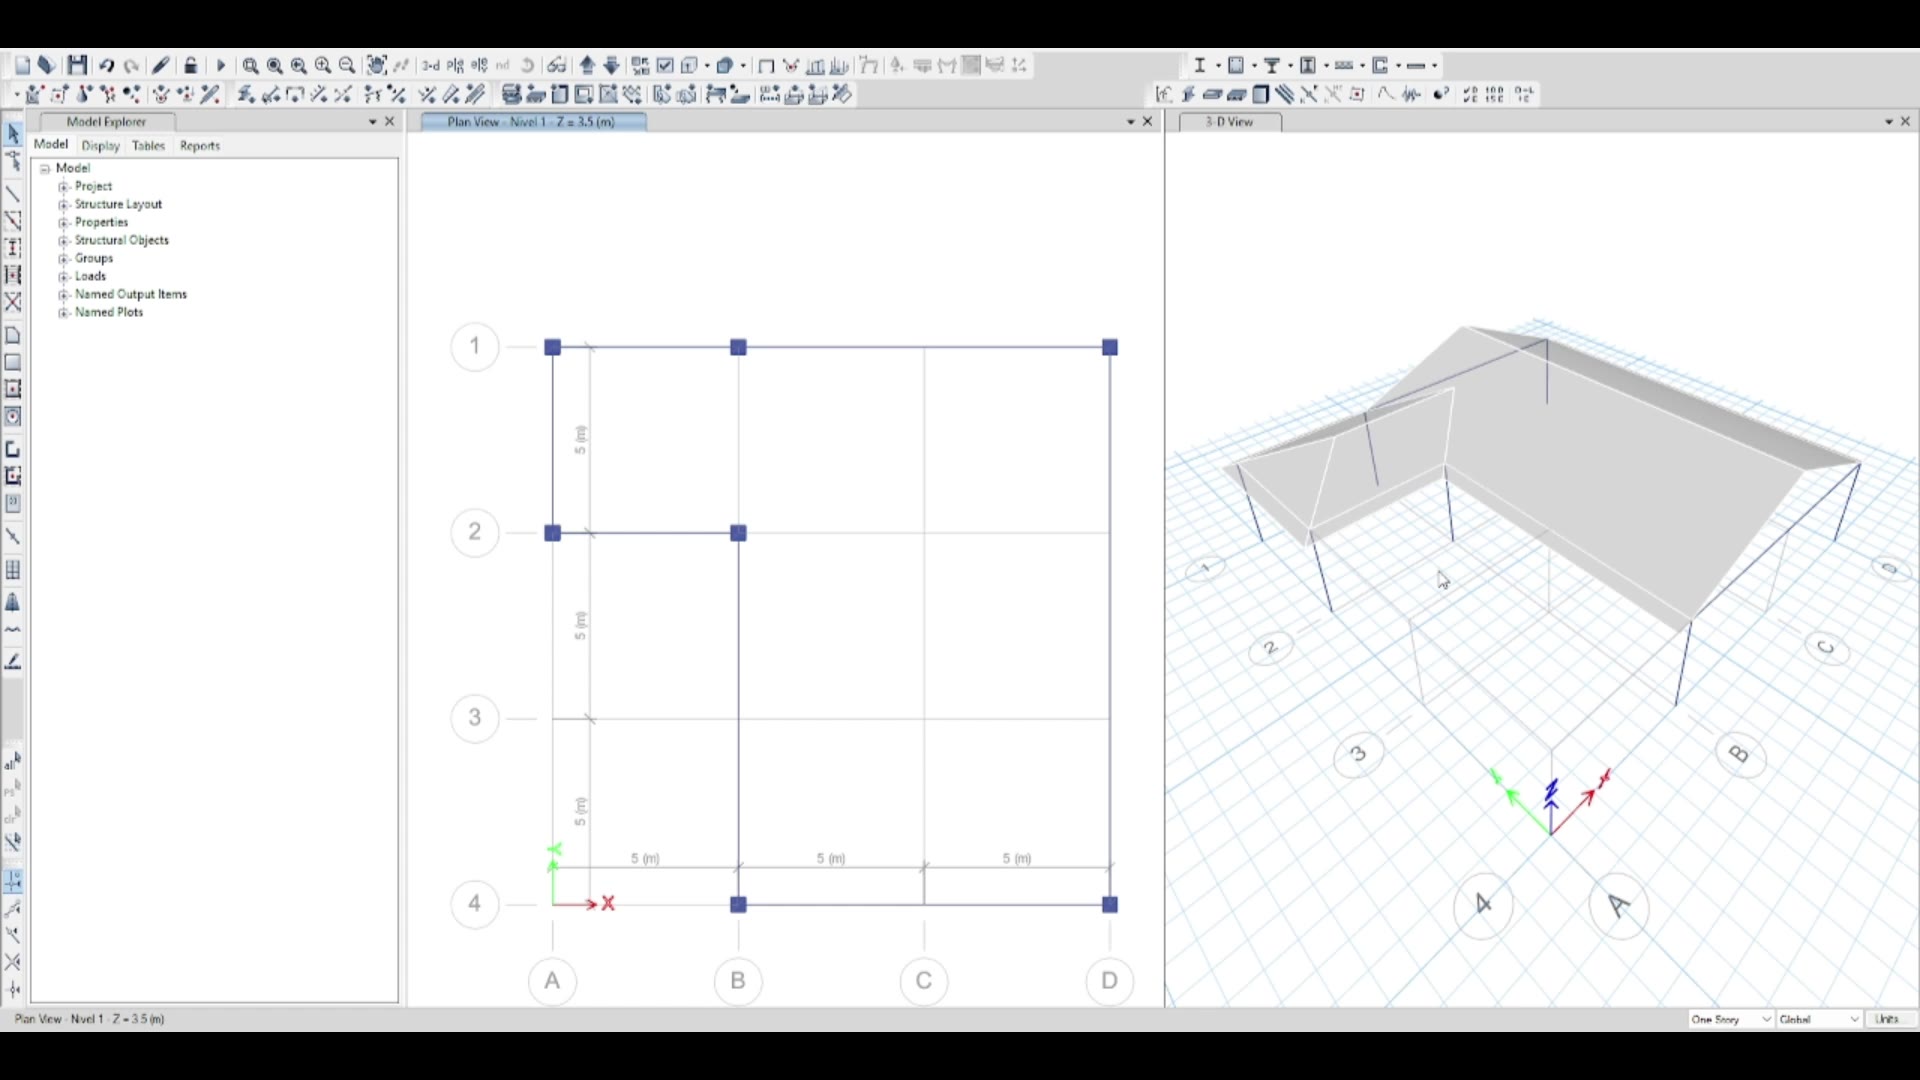
Final reference in ETABS
The .E2K file opens the sloped roof as part of the structural model so you can continue the analysis setup.
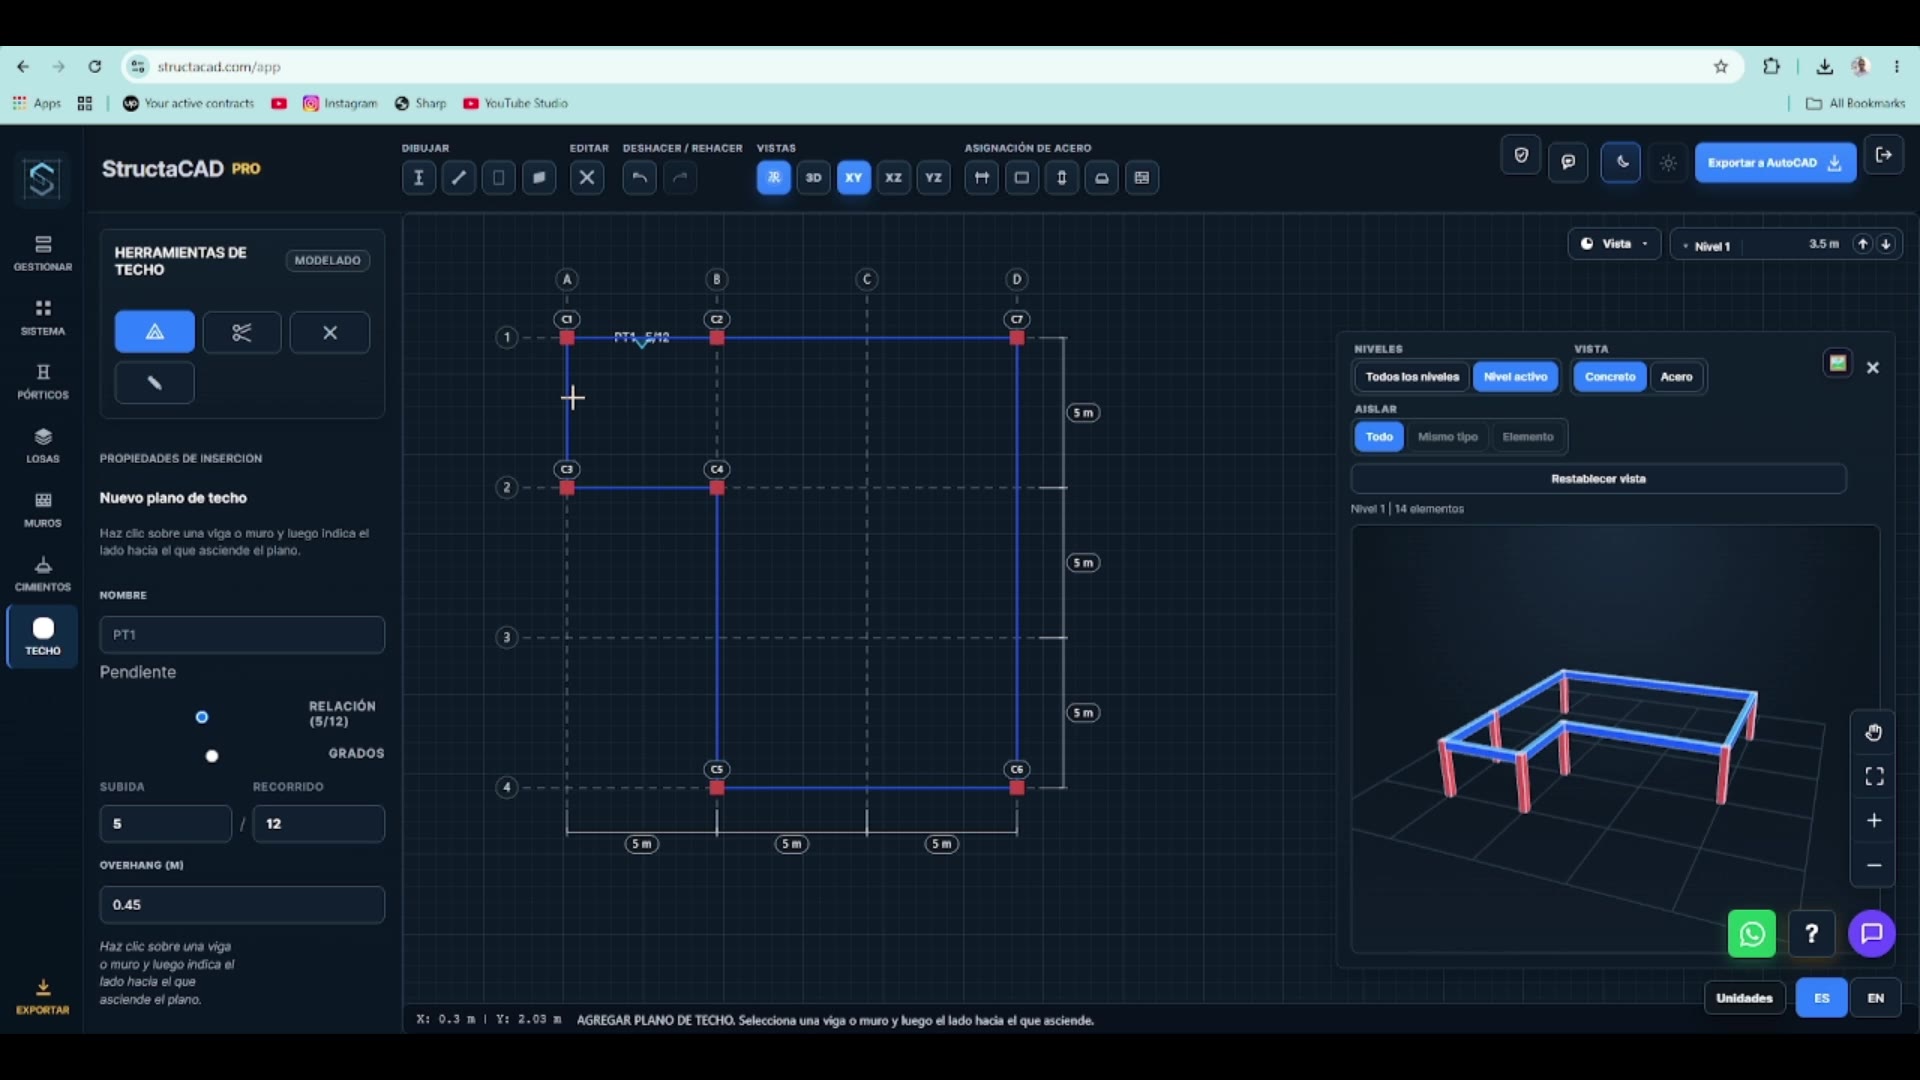
Roof-specific tools
Create surfaces, define pitch ratios, and control direction from the StructaCAD workspace.
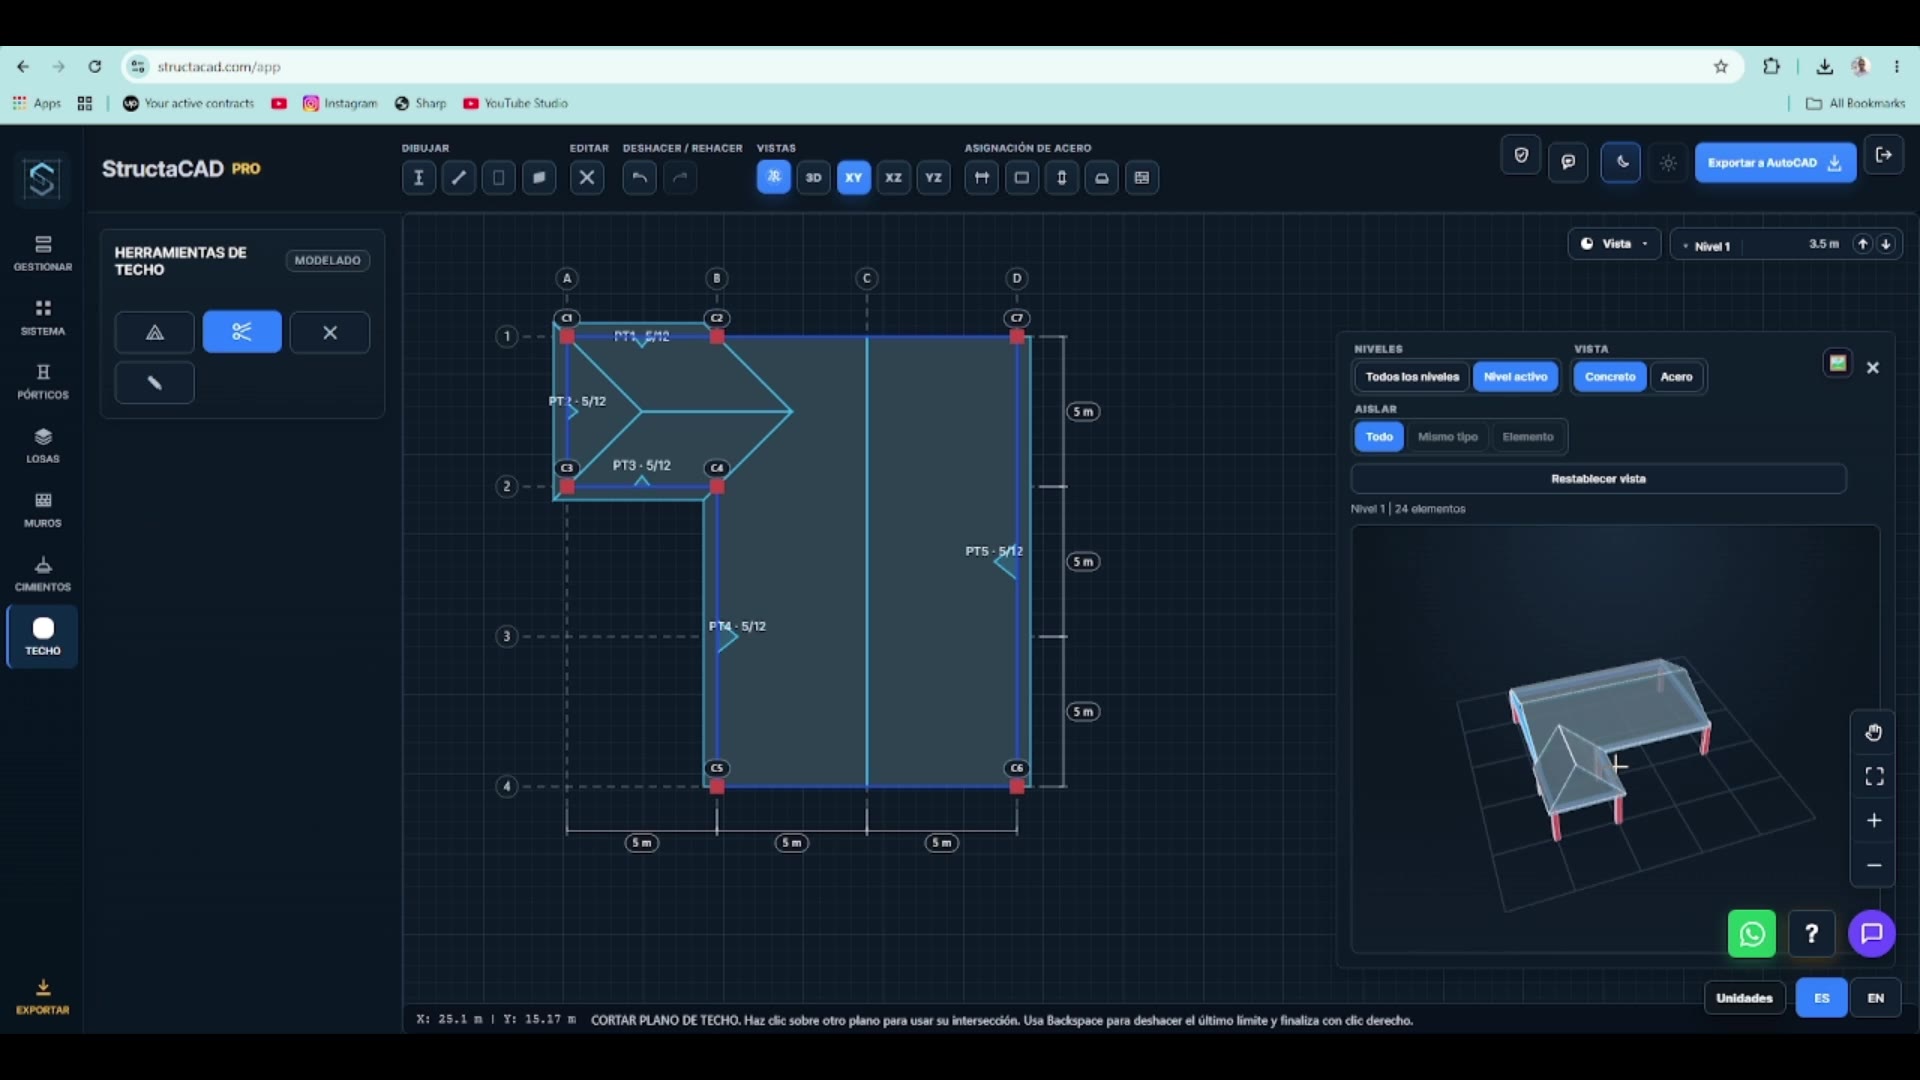
Plan with roof pitches
Every plane keeps a visible label and direction so the geometry can be reviewed before export.
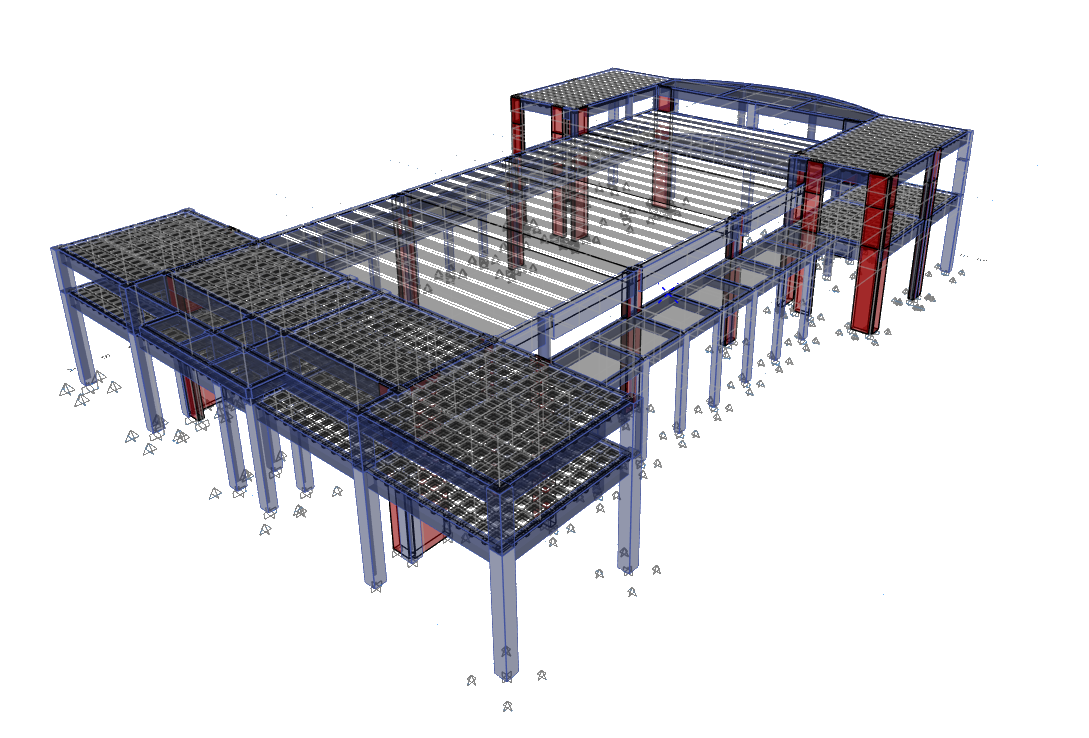
Immediate three-dimensional review
Check the roof shape while modeling and detect surfaces that do not meet or slope in the wrong direction.
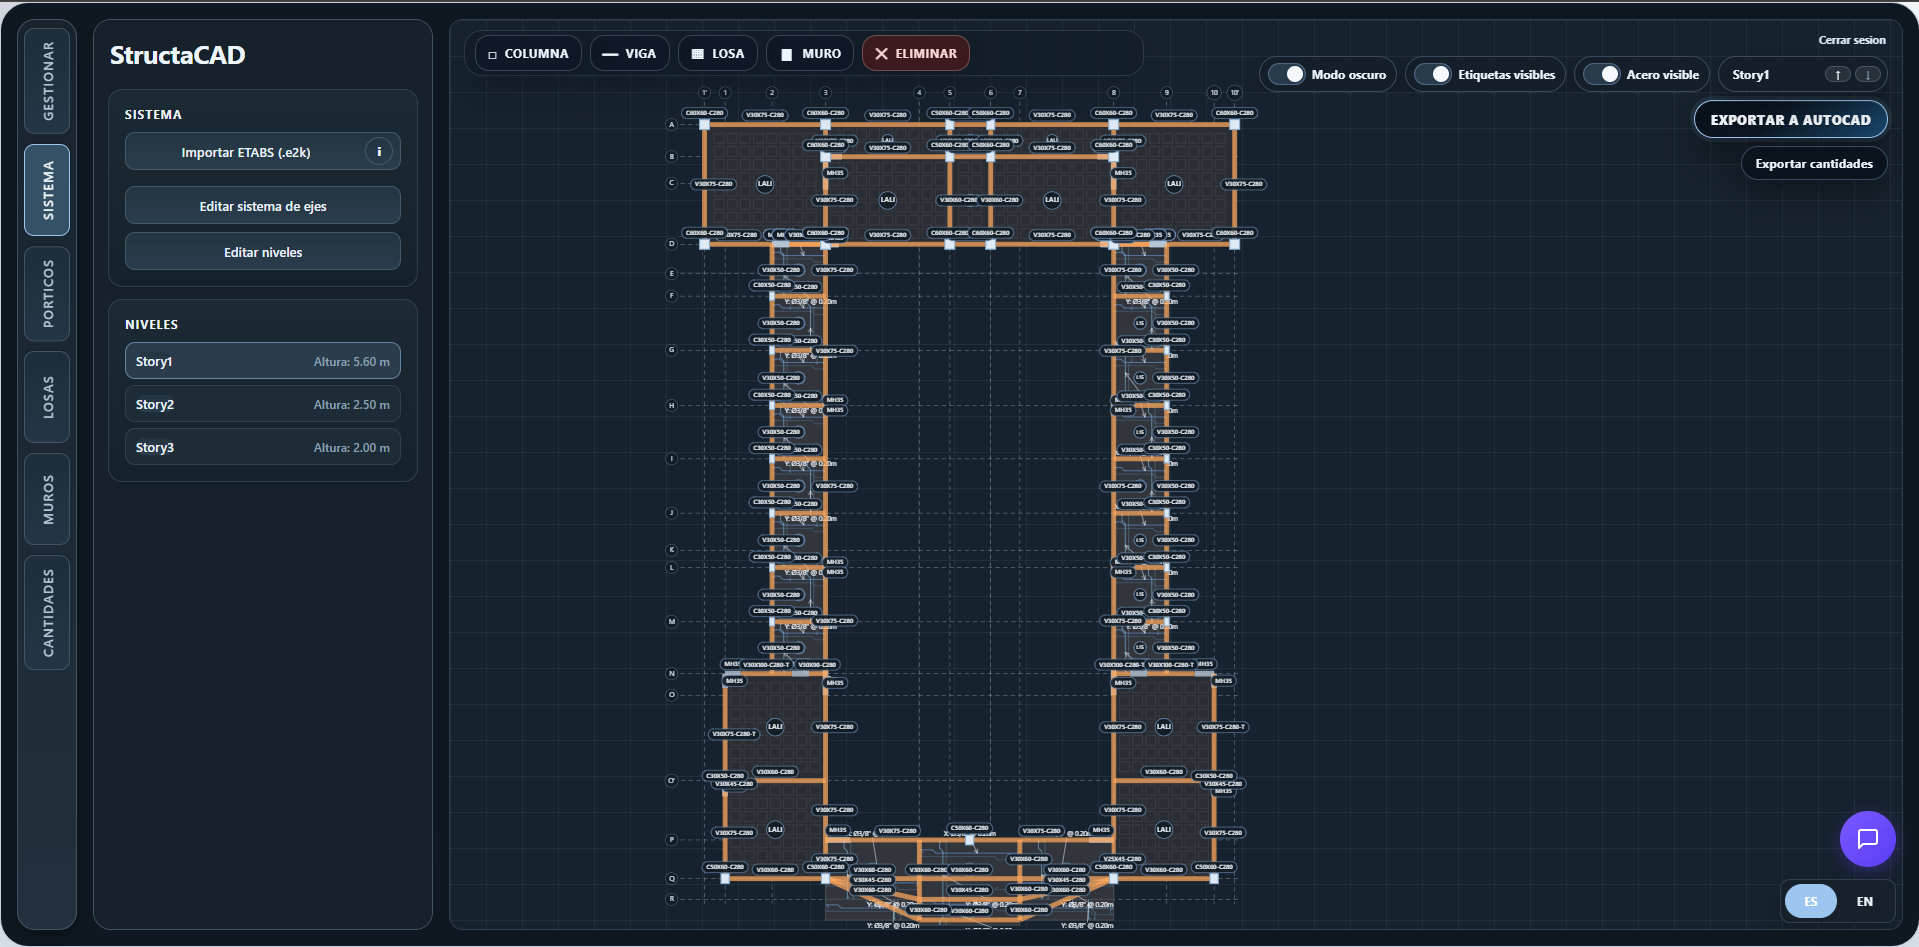
Integrated with the structure
The roof is modeled inside the same project that contains levels, grids, columns, beams, and supporting walls.
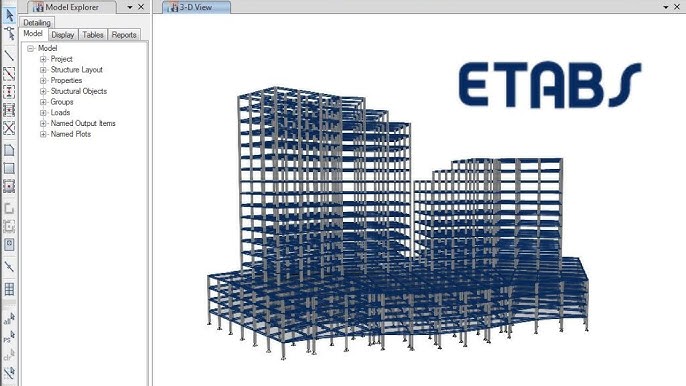
Continue the analysis in ETABS
Review meshing, connectivity, properties, diaphragms, supports, loads, and every model assumption after importing the .E2K file.
Who it is for
For engineers who model sloped roofs regularly.
The workflow is especially useful for houses, low-rise buildings, and projects where the roof shape changes from one model to the next.
Spend less time constructing geometry and more time reviewing loads, stability, and structural behavior.
Deliver organized three-dimensional roof geometry without manually calculating every Z coordinate.
Standardize the modeling of shed, gable, and multi-plane roofs across the team.
Modify pitches or planes visually and export the geometry again when the architecture changes.
The modeling bottleneck
Modeling a sloped roof directly in ETABS is more complicated than it needs to be.
A roof requires several planes to meet exactly in space. A small elevation difference can create disconnected edges, overlapping areas, or incorrect intersections.
StructaCAD lets you resolve the shape visually first and bring organized geometry into the analysis model.
Work normally done by hand
- Convert pitches into elevations
- Create joints at different Z coordinates
- Draw every inclined area object
- Align ridges and intersection lines
- Correct edges that do not share the same joints
How the geometry is built
Pitch controls the plane; intersections control the roof.
StructaCAD uses parameters that designers understand and updates both the plan and 3D representation so every decision can be reviewed before export.
The perimeter defines the region occupied by each roof plane on the active level.
An arrow and a ratio such as 5/12 determine how the elevation changes across the plane.
Planes can be trimmed using their intersections to create the final roof geometry.
The 3D view lets you confirm the shape before creating the ETABS .E2K file.
Frequently asked questions
Questions before exporting a roof to ETABS.
Can ETABS contain sloped roofs?
Yes. ETABS can contain inclined frame and area objects, but it does not provide a roof builder that automatically generates roof planes, pitches, intersections, and elevations. That geometry is normally created and coordinated manually.
What does StructaCAD simplify?
StructaCAD lets you create roof planes in plan, define their direction and pitch, trim planes at their intersections, review the roof in 3D, and export the resulting geometry as an ETABS .E2K file.
Can I define a pitch such as 5/12?
Yes. The roof modeling workflow supports pitch ratios and displays the corresponding angle so you can control each roof plane.
Does the export preserve the three-dimensional geometry?
Yes. Roof vertices and planes are exported with their elevations so the sloped shape is preserved when the .E2K file is opened in ETABS.
Can I edit the roof later in ETABS?
Yes. After the .E2K file is imported, the objects become part of the ETABS model and can be reviewed or modified for the analysis.
Is the .E2K file immediately ready for analysis?
Treat it as an initial structural model. The engineer must verify connectivity, meshing, materials, sections, diaphragms, supports, loads, mass source, and analysis assumptions before using the results.
Does it work for roofs with several planes?
The workflow is designed for roofs made from one or multiple planes. You can define different pitches and resolve the intersection lines between the planes before export.
Do I need to calculate every elevation manually?
No. The pitch and direction of the plane determine its elevation variation. You should still review the roof visually and confirm that every edge and intersection matches the design intent.
Stop calculating every joint
Model the roof as a roof, then bring it into ETABS.
Define the planes and pitches in StructaCAD, verify the three-dimensional shape, and export the model as .E2K to continue the analysis.